RMQ提供了类过滤和表达式过滤两种过滤模式
我们之前简单的说了表达式中基于TAG的过滤模式,这次主要说的是类模式过滤
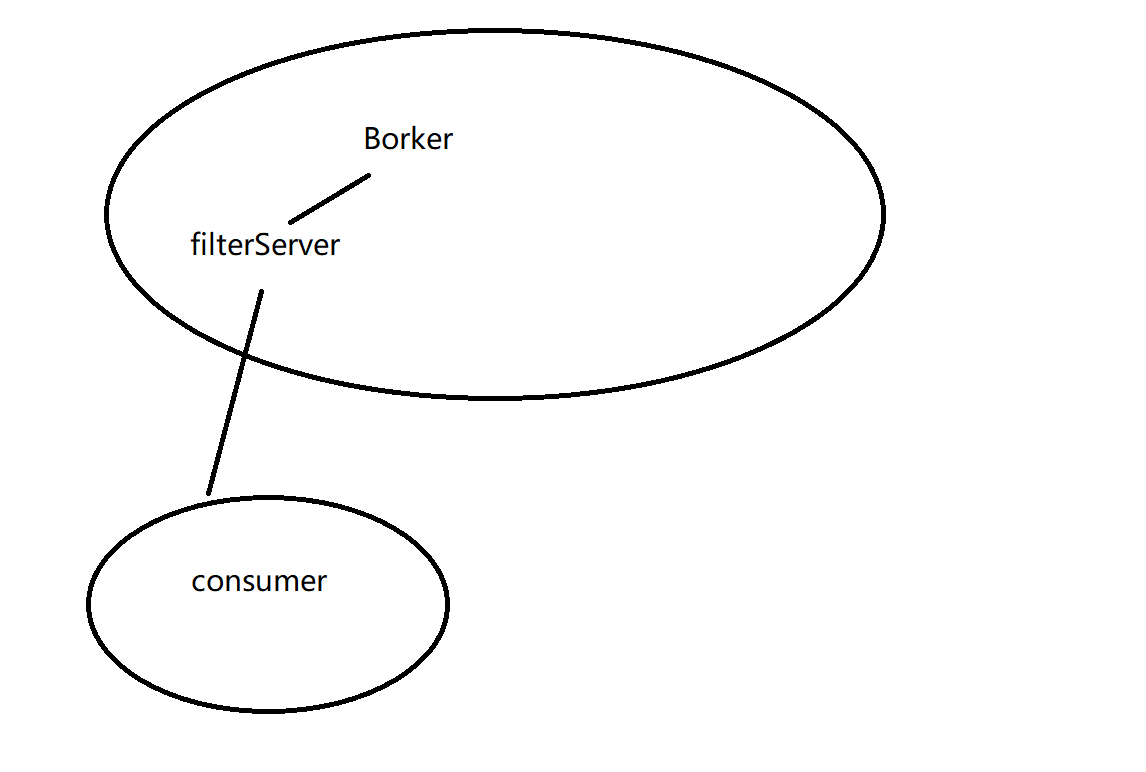
类模式过滤则是在Broker端运行一个或者多个消息过滤服务器
然后消费者向FilterServer拉取消息, FilterServer会将消息消费者的拉取命令转到Borker
并执行消息过滤逻辑,最终返回给消费端,
总结一下
Broker进程所在服务器会启动多个FilterService进程
消费者在订阅消息主题的时候上传一个自定义的消息过滤实现类,FilterServer加载并实例化
消息消费者向FilterServer发送消息拉去请求,FilterServer接收到消息消费者拉取请求后,将拉取请求发给Broker,然后将消息从FilterServer端执行消息过滤逻辑,将符合订阅信息的消息返回给消息消费者进行消费
那么我们继续说一下FilterServer和Broker如何挂上钩的
FilterServer在启动的时候会创建一个定时任务,每隔10s向着Broker进行注册
在Broker端进行处理对应的命令为FilterServerManager中的registerFilterServer
|
public void registerFilterServer(final Channel channel, final String filterServerAddr) {
//根据channel为key,返回FilterServer信息 FilterServerInfo filterServerInfo = this.filterServerTable.get(channel); if (filterServerInfo != null) { //不为null,更新一下 filterServerInfo.setLastUpdateTimestamp(System.currentTimeMillis()); } else { //不然就创建一个细腻的 filterServerInfo = new FilterServerInfo(); filterServerInfo.setFilterServerAddr(filterServerAddr); filterServerInfo.setLastUpdateTimestamp(System.currentTimeMillis()); this.filterServerTable.put(channel, filterServerInfo); log.info(“Receive a New Filter Server<{}>”, filterServerAddr); } } |
FilterServerInfo中只维护了
filterServerAddr
和 lastUpdateTimestamp
FilterServer和Broker就利用心跳维持着FilterServer在Broker端的注册,同样在Broker端每隔10s扫描一次,然后关闭过期的Channel
|
public void scanNotActiveChannel() {
Iterator<Entry<Channel, FilterServerInfo>> it = this.filterServerTable.entrySet().iterator(); while (it.hasNext()) { Entry<Channel, FilterServerInfo> next = it.next(); long timestamp = next.getValue().getLastUpdateTimestamp(); Channel channel = next.getKey(); if ((System.currentTimeMillis() – timestamp) > FILTER_SERVER_MAX_IDLE_TIME_MILLS) { log.info(“The Filter Server<{}> expired, remove it”, next.getKey()); it.remove(); RemotingUtil.closeChannel(channel); } } } |
然后根据配置文件中维护的最小FilterServer,来创建FilterServer,如果小于配置的数量,则创建一个FilterServer的进程
|
public void createFilterServer() {
int more = this.brokerController.getBrokerConfig().getFilterServerNums() – this.filterServerTable.size(); String cmd = this.buildStartCommand(); for (int i = 0; i < more; i++) { FilterServerUtil.callShell(cmd, log); } } |
主要是cmd创建了一个Command
|
private String buildStartCommand() {
String config = “”; if (BrokerStartup.configFile != null) { config = String.format(“-c %s”, BrokerStartup.configFile); } if (this.brokerController.getBrokerConfig().getNamesrvAddr() != null) { config += String.format(” -n %s”, this.brokerController.getBrokerConfig().getNamesrvAddr()); } //这里的是否是win是利用的osName进行判断的 if (RemotingUtil.isWindowsPlatform()) { return String.format(“start /b %s\\bin\\mqfiltersrv.exe %s”, this.brokerController.getBrokerConfig().getRocketmqHome(), config); } else { return String.format(“sh %s/bin/startfsrv.sh %s”, this.brokerController.getBrokerConfig().getRocketmqHome(), config); } } |
然后利用callSize进行执行多次shell命令
|
public static void callShell(final String shellString, final InternalLogger log) {
Process process = null; try { String[] cmdArray = splitShellString(shellString); process = Runtime.getRuntime().exec(cmdArray); process.waitFor(); log.info(“CallShell: <{}> OK”, shellString); } catch (Throwable e) { log.error(“CallShell: readLine IOException, {}”, shellString, e); } finally { if (null != process) process.destroy(); } } |
利用Runtime.getRuntime.exec进行执行
那么在Broker上,就已经保存好了FilterServer的信息
但是Consumer是直接去NameServer拉取的
那么NameServer是如何获取到的FilterServer信息的呢?
其实也是利用的Broker和NameServer的心跳包来实现的
在BrokerOuterAPI#registerBrokerAll中
|
RegisterBrokerBody requestBody = new RegisterBrokerBody();
requestBody.setTopicConfigSerializeWrapper(topicConfigWrapper);//主体配置,Manager中的topicConfigTable,内部的默认Topic requestBody.setFilterServerList(filterServerList);//消息过滤服务器 |
Broker每30S向NameServer发送心跳包,心跳包中就包含了过滤服务器地址
总结下ClassFilter的注册机制
那么就是FilterServer在启动的时候向Broker注册自己,Broker端维护了FilterServer信息,并且监控FilterServer的状态,然后Broker通过所有NameServer的心跳包向着NameServer注册Broker上存储的FilterServer信息,指引消费者从FilterServer上拉取消息